
I am convinced that it is often when you don't have it that you think well of it. Perhaps this is also how the proverbial saying of "taking things for granted" prevails. Having said that, in the world of globalisation and ease of human mobility, many (though not all) asian products can now be found in non-asian countries and vice versa. Which means, it is not impossible to enjoy certain asian cuisine in, for example, the States.
But what about traditional snacks which are just not popular or even non-existence amongst the westerners? Well, have them homemade then. This is how I started my research on recipes from baked goodies to traditional snacks like steamed bao and kueh and have them made at home myself. Of course, I have to first make sure that the required ingredients, if not equivalent substitutes, called for in the recipe can be found in the local asian supermarkets.
Although I have thought of making this Kueh Lapis a.k.a. Steamed Nine-layer Cake and gotten the ingredients ready months ago, I was only driven to execute it by the force of the Aspiring Bakers' last theme event. ^_^ The making of this Kueh really brings out one's patience. The reason why I had shelved it for some time was also because of the thought of waiting involved in steaming layer by layer. But trust me, this is definitely not a difficult recipe after all.
 |
| Kueh Lapis a.k.a. Steamed Nine-layer Cake |
Kueh Lapis a.k.a. Steamed Nine-layer Cake (九层糕)
Recipe referenced and modified from: KitchenTigress
Ingredients Required
4 pandan leaves, washed and cut 10 cm long
185 grams sugar
1/3 teaspoon salt
400 ml freshly squeezed coconut milk, undiluted
200 grams tapioca starch
Edible food colourings, as desired.
Bakeware Used
Round disposable foil pan 8 1/2-inch by 1 1/2-inch
(Recommended: Square cake tin 15-cm x 15-cm with bottom lined with parchment paper)
Preparation Steps
- In a small pot, add pandan leaves and water just enough to cover the pandan leaves. Bring pot to simmer for about five minutes. Measure 160 ml of pandan water, top up or discard the excess as necessary.
- Pour pandan water back into the pot. Add sugar and salt. Bring pot over low heat (just enough to keep warm, not boiling) and stir till sugar and salt dissolves.
- Add coconut milk and stir until well combined.
- Add tapioca starch and mix thoroughly.
- Strain mixture into a large bowl, pushing through any undissolved lumps of tapioca starch through the strainer.
- Prep steamer by bringing it to a rolling boil.
- Meanwhile, pour a layer of white mixture into the clean foil pan to approximately 3-mm height.
- Divide the rest of the mixture equally into four portions in four separate small bowls, each measuring approximately 180 ml. Add edible food colourings, one to two drops, to each small bowl of mixture as desired. Set aside.
- When the steamer is ready, place foil pan in the steamer and cover. Steam for approximately five minutes.
- Remove lid of steamer carefully, quickly add half of one of the coloured mixture, approximately 90 ml per layer, and replace lid. Steam for another five minutes.
- Repeat step 10 seven more times, alternating the colour mixture until all mixture is finished. Stir mixture just before each addition to combine starch that might have sat at the bottom of the bowl during the wait.
- After the last portion of mixture, which also forms the topmost layer, has been added, leave to steam for 10 minutes.
- Once ready, remove foil pan from steamer and place over a wire rack to cool completely.
- Once completely cooled, un-mould kueh by loosening the edges of the foil pan. Cover top of kueh with a parchment paper and invert foil pan over a larger plate. Gently bend the foil pan over from its sides and push the kueh out from the bottom of the foil pan.
- Cut kueh into small pieces by pressing knife downwards through the kueh and serve.
- Refrigerate any leftovers. Re-steam kueh till heated through and cool before serving.
The Dream Baker's Experiment
- I omitted the pandan leaves in the original recipe (simply because they were nowhere to be found in the asian supermarkets in my small western city) and instead, directly measured 160 ml of boiled hot water required to dissolve the sugar and salt.
- To replace the pandan fragrance in the kueh, I used pandan essence for my green colouring.
- The original recipe uses juice from bunga telang (blue pea flowers) as its colouring and made the kueh out of two colours only. This is really up to individual's preference.
- I used can coconut cream (which consist a ratio of 70% coconut and 30% water) instead. I suppose can coconut milk (simply more diluted than coconut cream) will work too but it may not be as rich and fragrant.
- I added only 170 grams of granulated sugar but still find the kueh very sweet personally.
- I did not line a parchment paper at the bottom of the foil pan because I thought I could simply cut through the disposable foil in the event the kueh sticks to the foil pan. As it turns out, it wasn't difficult at all to get the kueh out from the bottom of the foil pan. Having said that, the kueh is really soft and "elastic". Carefully peel the kueh instead of pulling it out from the foil pan so that the kueh will not be stretched.
- The original recipe called for a 15-cm by 15-cm square tin and the disposable foil pan I had used was a little too big. The portion of the mixture for each layer was barely enough to form an even layer and I had to tilt the foil pan around in the steamer to spread the mixture evenly. I could have formed fewer layers so that I have more mixture for each layer. Then again, I thought how could it live up to its name if there aren't nine layers. *_*
- As each layer of mixture was very thinly spread, I steamed each layer for only four minutes.
- I used a large steam pot and did not have a problem with having not enough water to last through the entire steaming process. Nonetheless if the water in the steamer does dry up before the entire steaming duration, as advised in the original recipe, top up steamer with boiling water and bring steamer back to rolling boil before adding mixture and steaming the next layer. Add water to the steamer only when the previous layer of mixture has been cooked.
- In a few attempts to remove the lid from the steamer to add the mixture, I wasn't fast enough in overturning the lid and drops of condensed vapour fell onto the surface of the steamed layer. Do not attempt to "dry" up the water droplets with a paper towel like I did, because the paper towel will be sticked to the surface instead. I was lucky that I did not "destroy" the kueh because I had attempted with a very small piece of paper towel. However, I noticed white patches where the water droplets had been after the mixture has been steamed.
- I brushed the top layer of the kueh with a very thin layer of vegetable oil after it has been cooled for a gloss finish as it appeared a little dry. Also, I wiped the knife with a paper towel dap with a bit of vegetable oil to prevent the kueh from sticking to the knife.

The two white patches on the surface of the kueh are not the results of the camera lighting. Rather, they were the results of the water droplets from the steamer lid that I had accidentally dripped into it.

The coloured mixture for the respective layers. The colours turned translucently lighter in shade after they have been steamed. Hence, add more colouring if you prefer stronger and brighter shades.
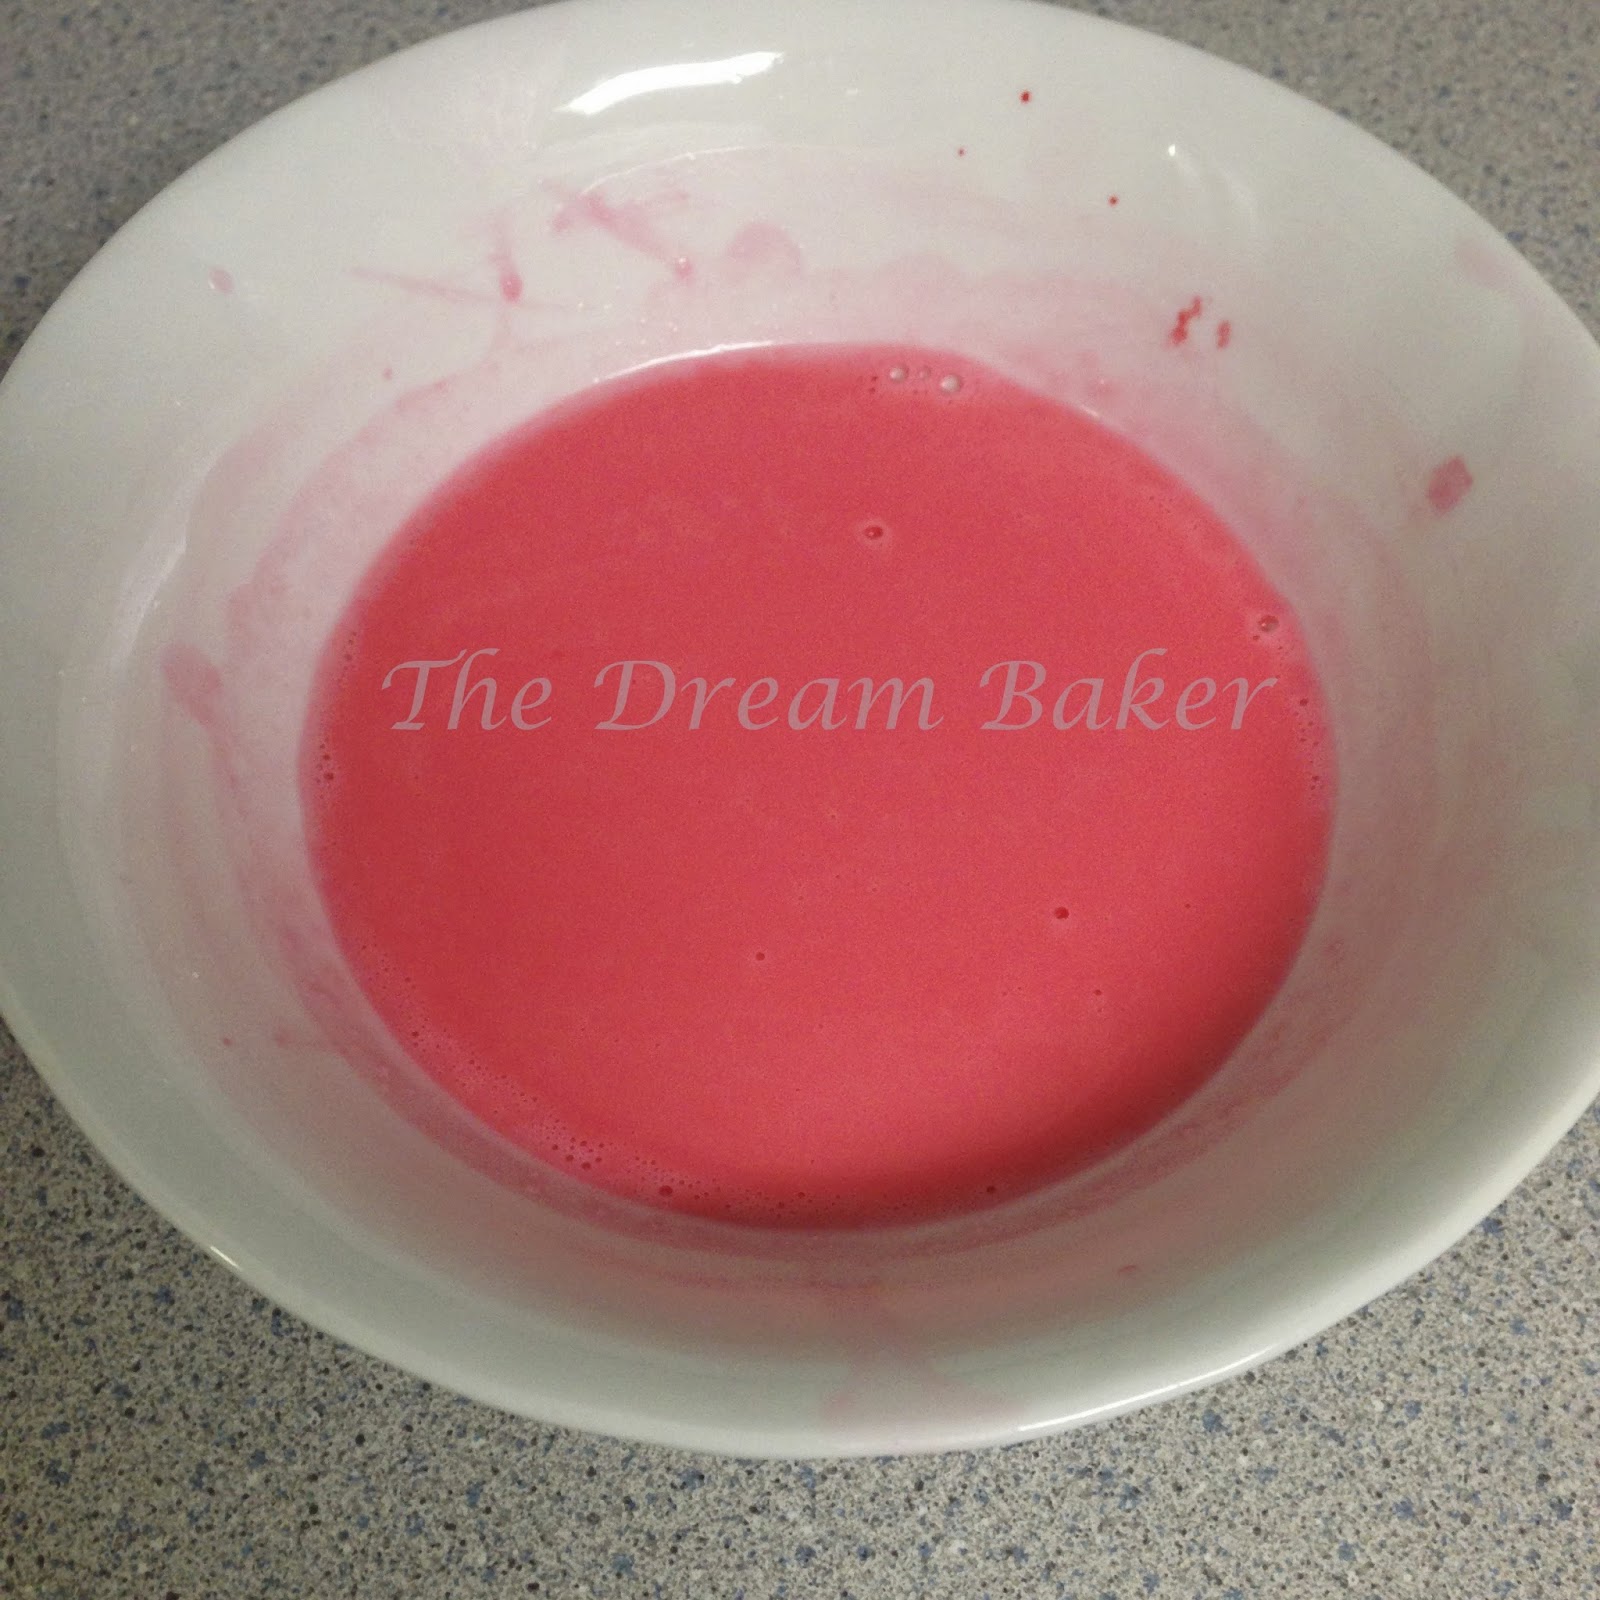
For the final topmost layer, I added two more drops of the red colouring to the mixture for a brighter shade of red.

Like all my other experiments, I would research and compare a few recipes before deciding on which one to execute. Amongst the recipes for this kueh that I have found, majority calls for a mixture of tapioca starch and rice flour, while very few others included a small amount of sago flour and green bean flour on top of the two common types of flour. While I have not made and tried one which is made from the aforesaid flour combination, this one that is made purely with tapioca starch is definitely soft and chewy. One of them who tried even commented that it tasted just like the ones from the famous Bengawan Solo! ^_^
I am submitting this Kueh Lapis a.k.a. Steamed Nine-layer Cake to the Aspiring Bakers #40: Rainbow and Ombre Party! (March 2014) hosted by Cynthia of The Baking Biatch.
My FourthBaking Post Afterthoughts
Well, this isn't really a baking, but more of a cooking experiment. I realised that the difficulty in blogging, be it a baking or cooking experiment, is not the flow of thoughts in "composing" each post. I am often stumbled by the right terms and words to use for expressing and describing certain actions of the making process. I just hope I could take more pictures to illustrate my words in my future posts. After all, it's about learning through the process and improving, isn't it?
Dare to dream.
The Dream Baker
My Fourth
Well, this isn't really a baking, but more of a cooking experiment. I realised that the difficulty in blogging, be it a baking or cooking experiment, is not the flow of thoughts in "composing" each post. I am often stumbled by the right terms and words to use for expressing and describing certain actions of the making process. I just hope I could take more pictures to illustrate my words in my future posts. After all, it's about learning through the process and improving, isn't it?
Dare to dream.
The Dream Baker
No comments:
Post a Comment